DRPU Gate Pass ID Cards Maker Screenshots

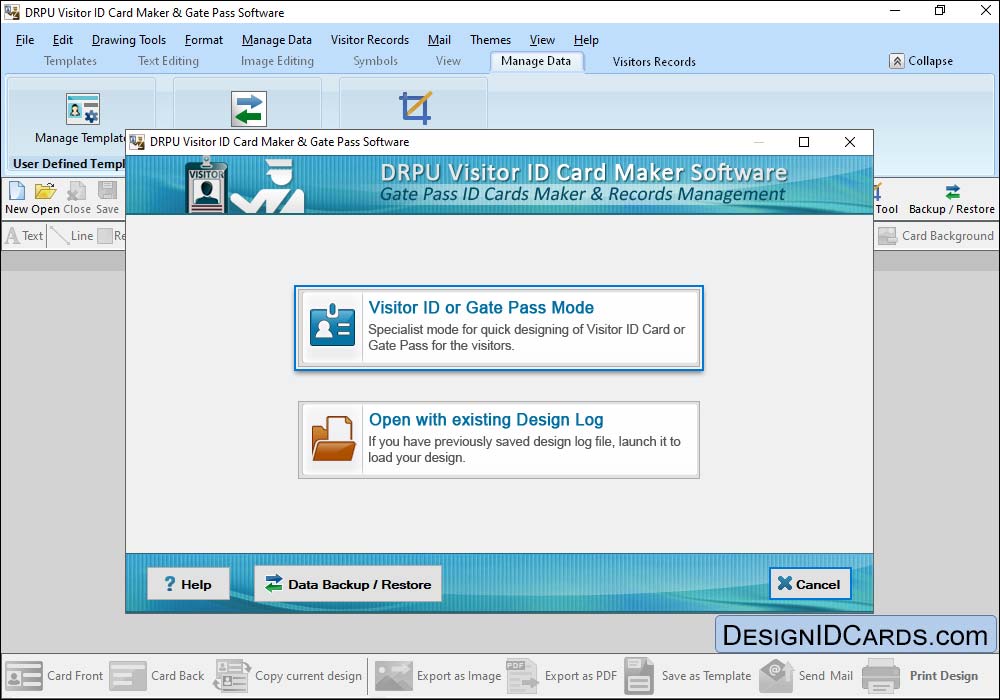
Select Template Category and choose any one sample for your visitor ID card. Specify card size and click 'OK' button to continue.

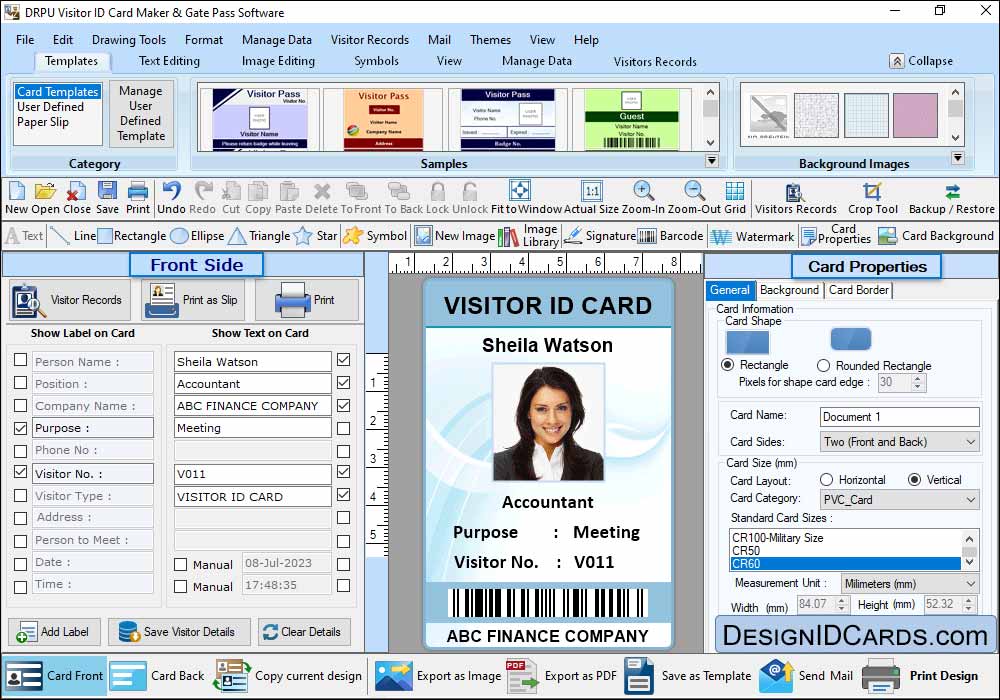
Enter all required details which you want to show on your ID card. Click on 'Browse' button to browse the path of captured image or you can take picture of visitor by clicking on 'Camera' button. Press 'Add Visitor details to DB' button to save visitors details to the database.

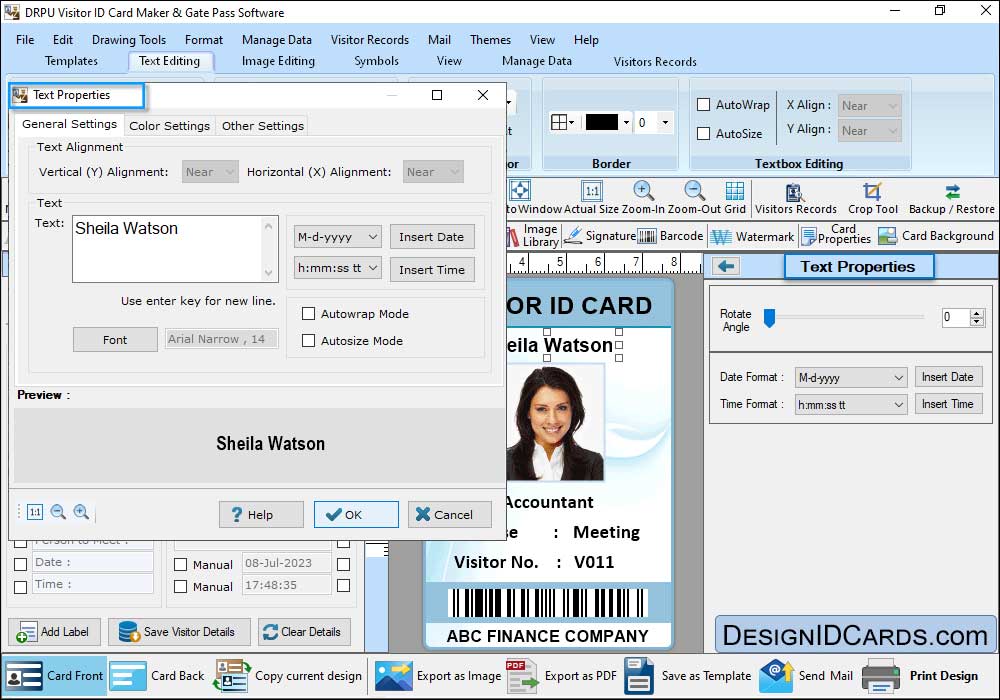
User can also use text properties and change date and time fromate.

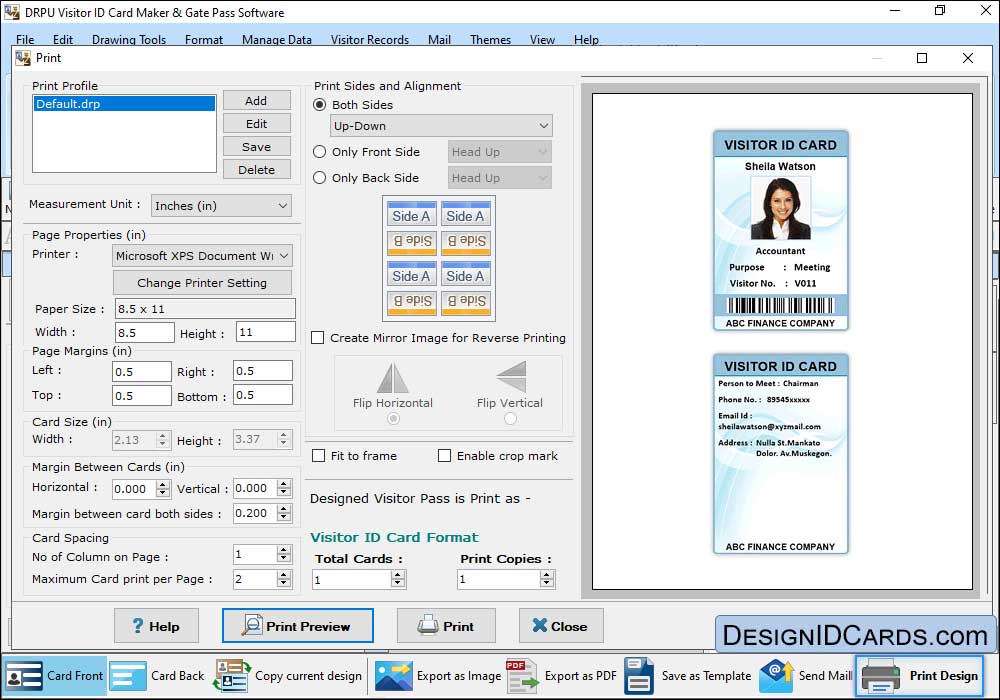
To print designed visitor ID card, set print properties and click on 'Print Preview' button.


 Mac ID Cards (Corporate Edition)
 Mac ID Card Design Software
 Mac Student ID Cards Software
 Mac Gate Pass ID Cards Software